News
The Blood of Dawnwalker Key NPC Guide: Surviving the Time Limit and Saving Vicho, Mert, and Isbrand
Navigate the punishing 30-day limit in The Blood of Dawnwalker with our breakdown of critical NPC choices, time segment management, and community-tested survival routes.
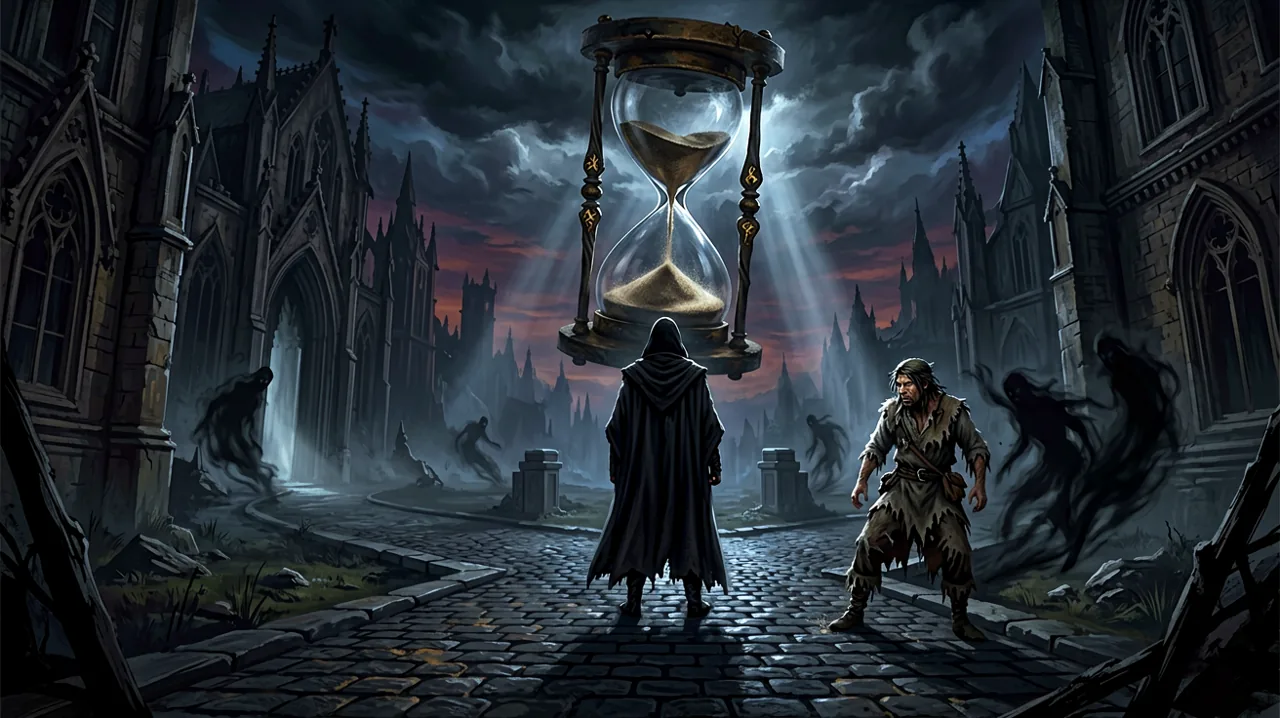
Rebel Wolves designed The Blood of Dawnwalker to force difficult decisions, but for many players, the heaviest burden isn’t the steep combat difficulty—it is the relentless march of the in-game clock. With the title passing one million copies sold just days after its September 3 launch, a massive wave of players is currently slamming into the mid-game realization that you simply cannot do everything in a single playthrough.
This structural reality has triggered what the community is already dubbing “quest paralysis.” Threads across social media highlight a shared anxiety: players want to clear every map marker, hunt down every legendary weapon, and complete every NPC storyline, but the overarching 30-day limit makes that mathematically impossible. Every side detour shaves hours or even full segments off the calendar, bringing the looming final confrontation ever closer.
Rather than trying to optimize the fun out of the game by mapping a mathematically perfect route, a more practical approach is prioritizing the side content that carries the most narrative weight and mechanical benefits. Among the dozens of inhabitants struggling to survive in Vale Sangora, a handful of specific characters stand out as requiring your immediate attention. Ensuring the survival of figures like Vicho, Mert the Miller, and Ocha—or navigating the messy moral hazard of sparing Isbrand—yields some of the most substantial rewards available.
Overcoming Quest Paralysis and Time Management
Before examining specific NPC outcomes, it helps to understand exactly how the time economy punishes indecision. Time in The Blood of Dawnwalker does not pass continuously while you are simply standing idle in a safe zone or staring at your inventory. Instead, the clock advances in concrete “segments” triggered by specific actions: fast traveling over long distances, resting to recover health or switch between your daytime human and nighttime vampire forms, and most crucially, committing to major quest steps.
According to community testing and early time-management strategies, the biggest trap players fall into is accepting every side quest they stumble across and attempting to clear them geographically. Because quests often require you to wait for a specific time of day or travel back and forth across the map, doing them out of narrative sequence burns through the 30-day limit remarkably fast.
If you are feeling overwhelmed, the consensus advice from veteran ARPG players is straightforward: pick a lane. If a questline does not offer a distinct mechanical upgrade or hook you narratively within its first few dialogue exchanges, drop it. The narrative sandbox is built with the expectation of multiple playthroughs. Attempting a completionist run on your first try will almost certainly result in failing the main objective or missing the window to secure the better endings.
How to Keep Vicho Alive
Vicho’s predicament is one of the first major tests of your ability to prioritize tasks under pressure. You will typically hear rumors about his situation shortly after leaving the prologue area. The game expects you to actively track him down based on environmental clues and NPC dialogue; there is no glaring map marker pulling you toward his exact location until you are already in the immediate vicinity.
Reports indicate that Vicho is on a hidden timer the moment you log the rumor in your journal. If you ignore the prompt and spend several time segments clearing out unrelated monster dens or advancing the primary story, you will eventually find his location completely overrun, and his corpse waiting for you.
To keep him alive, drop your current non-essential tasks and head to his last known coordinates immediately. The encounter heavily favors your daytime capabilities. Engaging the threats surrounding him during the day prevents the local wildlife from receiving their nighttime aggression buffs, keeping the mob sizes manageable. You will need to carefully manage aggro; if you use large area-of-effect hex magic indiscriminately, Vicho can easily be caught in the crossfire and killed by your own hand. Ensure you have healing consumables ready, not just for yourself, but to stabilize him through a dialogue prompt after the skirmish concludes. Players who successfully rescue him report that he later provides crucial information regarding underground smuggling routes, which opens up entirely new economic options and unique black-market gear in the late game.
Saving Mert the Miller
Unlike Vicho, whose danger is largely combat-oriented, the threat to Mert the Miller is intrinsically tied to the local economy and faction politics. Mert controls a vital piece of infrastructure, and various unsavory groups operating in the background want him removed so they can seize control of the local grain supply.
When you begin his questline, you are presented with a series of investigative tasks. You have to gather evidence regarding who is sabotaging the mill. The catch here is that investigating takes time segments. If you spend too much time interviewing every single peasant in the surrounding farms and pursuing red herrings, the saboteurs will strike before you can identify them, resulting in the mill burning down and Mert perishing in the blaze.
To save Mert, you must be decisive. Focus your investigation strictly on the immediate perimeter of the mill. Community guides suggest relying on your vampire senses at night to spot environmental clues—like disturbed earth and alchemical residue—that are completely invisible during the day. This bypasses the need for tedious daylight interrogations. Once you identify the culprits’ camp, you must confront them. The dialogue choices here are highly volatile. Trying to play the diplomat and bribe them often results in the saboteurs simply returning later when you are off-map. A direct, forceful intimidation—or outright eliminating the cell leader—reportedly serves as the only surefire way to guarantee Mert’s long-term survival. Keeping the mill operational ensures a steady, heavily discounted supply of base crafting materials for the rest of your playthrough.
Our Rotten Roots: Should You Spare Isbrand?
The quest “Our Rotten Roots” introduces Isbrand, a character whose actions are highly questionable, yet whose motivations are uncomfortably relatable. Without diving into heavy plot spoilers regarding his exact crimes, you will eventually corner him in a secluded ruin and have to make a split-second decision: execute him on the spot for his transgressions, or spare his life in exchange for his future cooperation.
This decision has predictably fractured the player base. From a purely mechanical standpoint, killing Isbrand yields immediate, high-tier loot. You can pull an exceptionally rare weapon upgrade material directly from his remains, providing an instant power spike that can easily carry you through the next major story boss bottleneck. For players struggling with the difficulty curve, this immediate payoff is incredibly tempting.
However, sparing him plays the long game. If Isbrand lives, he vanishes from the immediate area but reportedly resurfaces in the final week of the in-game calendar. Players who chose mercy have noted that he returns to offer a highly specialized, one-time service that can bypass a significant late-game faction requirement, saving you multiple time segments right when the clock is tightest.
The choice ultimately depends on your current build and time constraints. If you are struggling with combat right now and desperately need raw stats, execution is the pragmatic route. If your build is stable and you want to keep your late-game narrative options as broad as possible to secure a better ending, holstering your weapon is the better play.
Helping Ocha
Ocha’s situation is less about life-or-death combat and more about resource allocation. Encountered near the swamps, she requires a specific set of rare herbs and alchemical reagents that are frustratingly difficult to source in the early chapters.
Many players initially ignore her request because the necessary items share spawn tables with essential healing draft components. Giving them to Ocha feels like a massive sacrifice of personal survivability, especially on higher difficulty settings.
Early community testing, however, strongly suggests that completing her request should be treated as mandatory for players focusing on magic builds. Handing over the materials completes the quest and secures her loyalty. More importantly, she subsequently relocates to a safe zone and opens a storefront that sells advanced magical components at a significant markdown. The initial investment of rare herbs pays for itself tenfold within a few in-game days. If you are running a purely physical, sword-focused build, you can safely afford to leave Ocha’s quest pending. But for anyone relying on arcane abilities to control the battlefield, failing to help her will severely hamstring your late-game economic scaling.
The Cost of Duality
The Blood of Dawnwalker excels at making every choice feel remarkably heavy. The tension of the ticking clock means that rescuing one character often results in abandoning another to their fate. You are not a superhero capable of being everywhere at once; you are a cursed individual trying to manage a rapidly deteriorating geopolitical situation.
Accepting that you will leave things undone is the first step to actually enjoying the complex systems Rebel Wolves has built. Prioritize the NPCs that align with your character’s immediate build needs and moral compass, whether that means securing Mert’s supply lines, relying on Vicho’s intelligence network, or gambling on Isbrand’s future gratitude. Let the rest of the chips fall where they may, and save the alternative outcomes for your second playthrough.