News
The Blood of Dawnwalker: 'Home Sweet Home', Sanzhani Loot, and Hidden Trophies
Navigate the cryptic mid-game of The Blood of Dawnwalker. Learn how to escape the dream loop, secure Silk Threads, and unlock the elusive Uraish village.
While the main narrative path of The Blood of Dawnwalker keeps you firmly focused on the impending crisis, taking the time to explore the unmarked corners of the map yields some of the most memorable encounters in the entire RPG. Rebel Wolves has layered the world with obscure side content that rarely holds your hand, relying instead on environmental storytelling, cryptic NPC dialogue, and a genuine sense of discovery. However, with the looming 30-day time limit constantly pushing you forward, knowing exactly which detours are worth your effort is critical. Some of these hidden paths offer powerful loot, while others fundamentally alter the conclusion of your journey.
We are breaking down the most elusive mid-to-late game secrets currently baffling the community. From escaping the psychological torment of the ‘Home Sweet Home’ dream loop to securing missable Sanzhani artifacts and unlocking the notoriously stubborn ‘Tour Guide Training’ trophy, here is what you need to know to conquer the shadows of Vale Sangora.
Escaping the Dream Loop in ‘Home Sweet Home’
The ‘Home Sweet Home’ quest is arguably one of the most mechanically distinct sequences in the game, leaning heavily into atmospheric tension and psychological horror rather than traditional swordplay. You trigger this quest by investigating an abandoned, dilapidated estate on the western edge of the map, only to find yourself trapped in a localized reality distortion.
Once inside the estate, the layout begins to loop seamlessly. Corridors repeat endlessly, doors inevitably lead back to the main foyer, and the environmental audio cues subtly shift with each cycle. The trick to escaping the dream loop is not combat, but keen observation. You must interact with specific objects that are out of place in each consecutive loop. This might be a shattered mirror that is suddenly whole, a grandfather clock ticking backward, or a macabre painting that changes its subject to reflect your character’s past. Interacting with the correct anomalies destabilizes the illusion. If you fail and pick the wrong objects, the loop resets violently, and you reportedly lose precious hours off your overarching campaign timer, simulating the passage of real time while you were trapped in the trance.
More importantly, completing this quest flawlessly opens up a hidden narrative path. According to early findings, successfully escaping the estate without a single reset grants you a unique dialogue prompt with the ethereal entity maintaining the loop. Choosing the pacifist, empathetic response here unlocks a secret ending where you can choose to abandon the central conflict entirely, leaving Vale Sangora prematurely. It is a bleak, abrupt conclusion that leaves the realm to its doom, but an essential one for players looking to witness every possible secret ending and understand the full scope of the game’s branching narrative.
Securing the Silk Threads in ‘Come Hither’
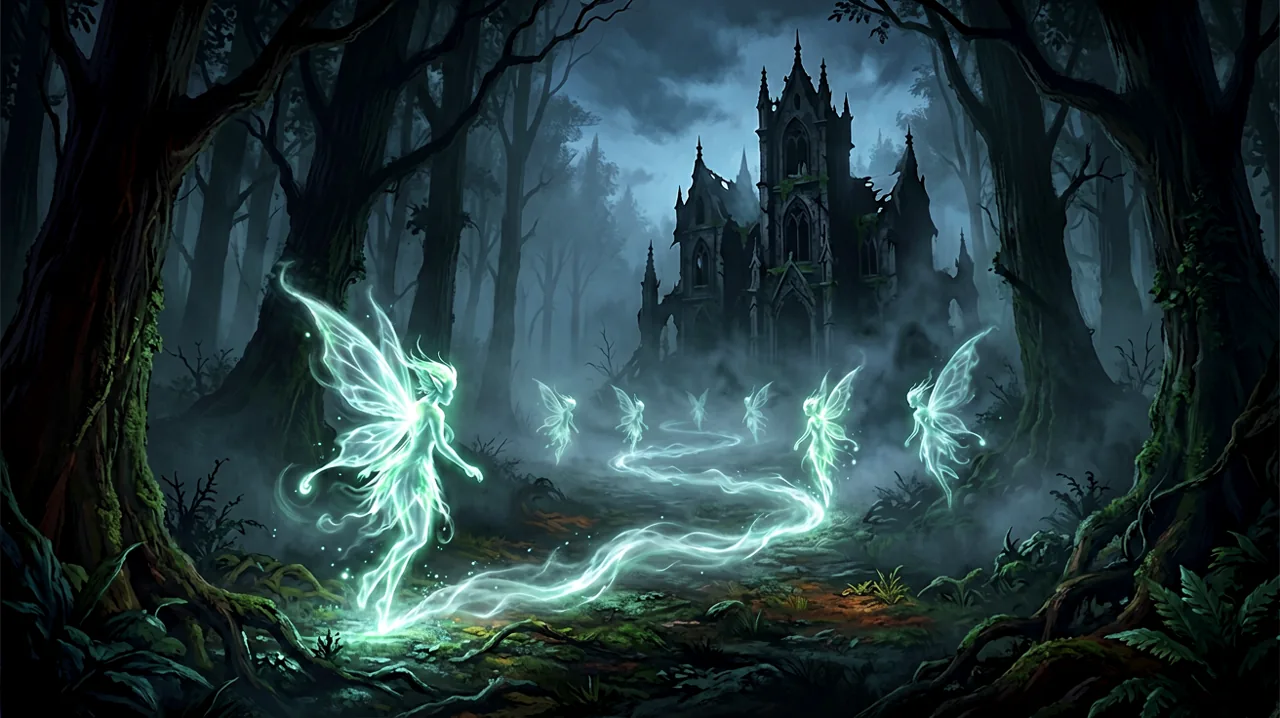
While the haunted estate tests your perception, the ‘Come Hither’ quest tests your restraint and greed under pressure. This quest involves the Sanzhani fairies, a faction known not for whimsy, but for their macabre trickery, twisted motives, and lethal illusions. Locating the start of the quest is a challenge in itself. You need to follow a trail of faint, glowing spores in the deep woods only during the golden hour, right as the game transitions between the daytime human and nighttime vampire states.
The fairies will lure you into an underground burrow filled with environmental hazards, toxic flora, and brutal ambush encounters. The combat here is claustrophobic, forcing you to rely on tight dodges, parries, and spatial awareness. Eventually, you confront the matriarch of the brood in a visually stunning cavern. Whether you choose to negotiate a tense truce or fight your way out through waves of summoned thralls, the most critical part of this quest happens immediately afterward.
The environment will begin to collapse around you, prompting a frantic escape sequence. The on-screen UI, the swelling orchestral score, and the shaking camera will heavily suggest you sprint to the exit as fast as possible. However, tucked away in an obscured alcove behind the matriarch’s throne is a small, unremarkable chest containing the Silk Threads. If you blindly follow the objective marker and leave the cavern, the entrance seals permanently behind you under a pile of rubble, completely locking you out of this loot. The Silk Threads are a highly sought-after crafting material, mandatory for creating late-game lightweight armor sets that drastically reduce stamina consumption during intense combat and hex magic encounters.
The Uraish Roadblock and the ‘Tour Guide Training’ Trophy
Achievement hunters have been tearing their hair out over the ‘Tour Guide Training’ trophy, which simply asks you to visit all eight villages in the game. On paper, it sounds like a straightforward exploration task that you would naturally complete over the course of a playthrough. In practice, the final village is hidden behind opaque, undocumented progression flags.
Seven of the eight settlements can be organically discovered while roaming the sprawling map. You can ride in, discover the fast travel point, talk to the locals, and check them off your list. The eighth village, Uraish, is an entirely different story. It is heavily fortified, completely blocked off by a raised drawbridge, and guarded by hostile sentries who refuse to lower it under any normal circumstances. The game offers no direct quest marker explaining how to gain entry, leaving many players confused.
Based on community-reported strategies, unlocking Uraish requires you to complete two completely separate, unmarked quests first. You must actively explore the southern crossroads and intervene in a scripted bandit ambush to save a specific traveling merchant. Days later, you need to locate that same merchant in one of the other seven villages—his location is randomized based on the in-game day—and purchase a forged writ of passage at an exorbitant price. Only with this writ in your inventory will the guards at Uraish acknowledge you and lower the bridge. It is a brilliant, old-school piece of quest design that respects the player’s intelligence, but it is incredibly frustrating if you do not know the prerequisites beforehand.
Mastering Crowd Control: The Ravenous Flock Witchcraft Ability
Tackling these obscure quests often means wandering into high-level enemy territory, where you will frequently find yourself heavily outnumbered. Several players on community forums have voiced frustrations regarding the game’s targeting system, noting that the camera can occasionally switch lock-on to the wrong enemy when swarmed by mixed groups of heavily armored soldiers, fast-moving beasts, and ranged attackers.
To mitigate this mechanical friction, relying on area-of-effect spells is paramount. For players focusing on daytime combat, the Ravenous Flock Witchcraft ability is a mandatory investment. This spell is specifically designed for elite crowd control. When cast, it instantly stuns a tightly grouped cluster of enemies, interrupting their attack animations, and permanently marks a primary target with a glowing sigil.
The true power of Ravenous Flock reveals itself when you upgrade it through the skill tree. Hitting the marked target with a heavy melee strike triggers a secondary area burst that damages everything in the vicinity, effectively turning your sword swings into explosive detonations. If you invest the necessary skill points to bring this ability up to level 4, striking the marked target triggers up to four consecutive follow-up bursts. It essentially turns a single enemy into a walking explosive barrel that annihilates their allies. Synergizing this spell with aggressive swordplay allows you to effortlessly clear out Sanzhani ambushes and crowded bandit camps without ever having to wrestle with the camera targeting. If you want to optimize your loadout even further, we highly recommend checking our broader builds and skill trees analysis.
Technical State and Patch 1.0.5 Stability
If you have been holding off on tackling these complex quests due to early technical hiccups, the development team is actively smoothing out the experience. Rebel Wolves recently pushed Hotfix 1.0.4 across platforms, which specifically addressed broader stability improvements and fixed several quest progression blockers that were halting certain dialogue trees from advancing properly.
Following closely behind, Hotfix 1.0.5 is now officially live on PC via Steam. This patch introduces significant, much-needed improvements to the shader compilation pipeline. This backend adjustment should drastically alleviate the stuttering issues many users reported when traversing densely populated areas, loading into complex interiors like the ‘Home Sweet Home’ estate, or casting visually intense, particle-heavy spells like Ravenous Flock.
As the community continues to dissect the sprawling, cursed map of Vale Sangora, it is highly likely more hidden interactions and emergent gameplay loops will surface. The world design firmly rejects the modern trend of pointing you exactly where to go with glowing trails, rewarding those who treat the environment as a mystery to be solved rather than a checklist to be completed. Whether you are hunting for secret endings or just trying to craft the perfect build, taking the time to explore off the beaten path is always worth the risk.